
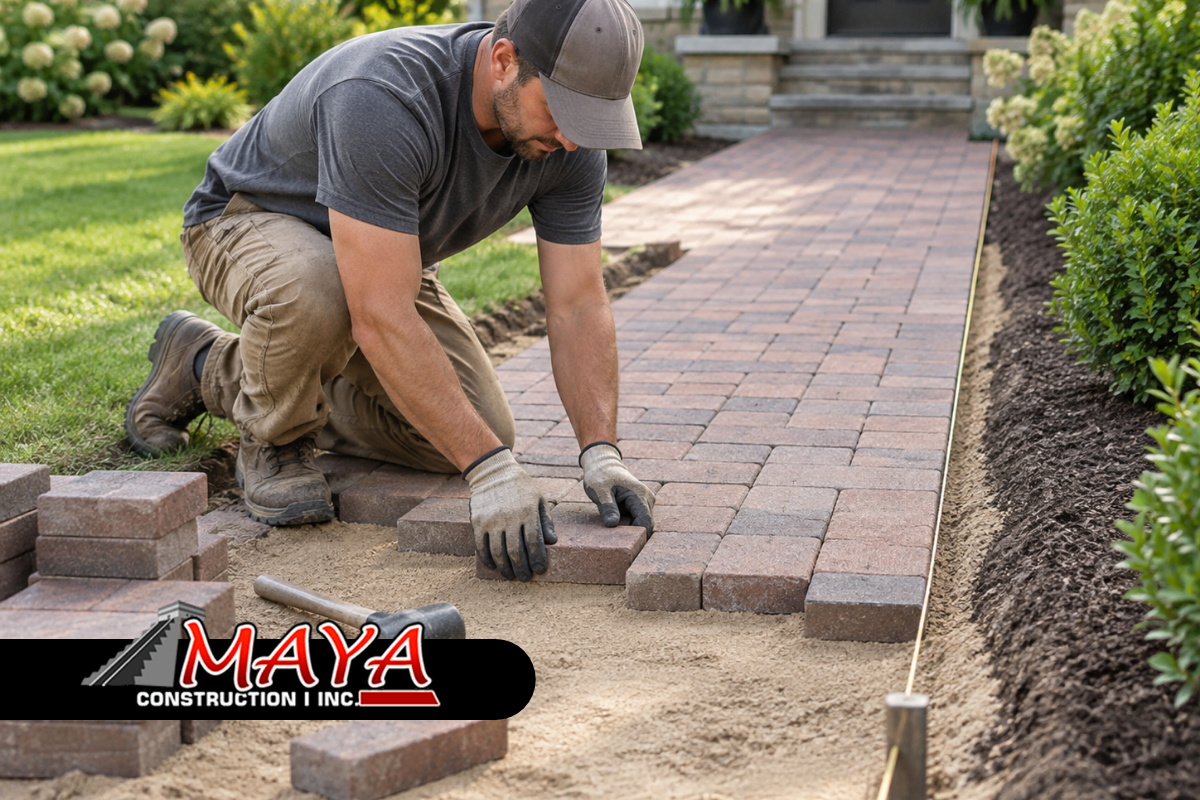
Brick paver installation can turn a plain outdoor area into a welcoming path, patio, or gathering space. With careful planning and simple steps, homeowners can create a strong surface that looks clean and fits the style of the property.
At Maya Construction 1 Inc, we know that good results begin before the first paver is placed. From choosing materials to preparing the base, each stage supports a safer, longer-lasting finish that can improve the look and use of your yard.
Choose Brick Pavers That Match Your Outdoor Space
Start by choosing brick pavers that suit your home, weather, and daily use. Clay and concrete are common choices. Thicker units usually work better in areas with heavier traffic, while thinner options can fit patios and garden paths.
Color and texture also shape the final look. Reds and browns feel classic, while darker tones can create contrast. For more guidance, review our guide to choosing masonry materials before making a final decision.
Plan Your Paver Layout Before Starting Any Work
A clear paver layout helps reduce mistakes and wasted material. Measure the area, mark borders, and note curves or corners. Then, test a few rows before you begin full paver installation so you can check spacing and direction.
- Running bond creates a simple, familiar pattern.
- Basket weave adds a more decorative look.
- Herringbone gives strong support in busy areas.
Prepare The Ground For A Stable Paver Base
Good brick paver installation depends on solid ground preparation. Remove grass, roots, rocks, and loose soil from the work area. Next, dig deep enough for the base, bedding sand, and pavers while keeping the finished height in mind.
Compact the soil well before adding other materials. Stakes and string lines can help you keep the area even. If you are planning a brick walkway, our walkway ideas for practical projects can also help with design direction.
Build A Strong Foundation For Lasting Paver Results
Spread crushed stone or gravel across the compacted soil, then compact it in layers. After that, add about one inch of coarse sand and level it with a straight board. This smooth bed helps each paver sit evenly.
- Check the base often with a level.
- Keep a slight slope away from buildings.
- Avoid walking on prepared bedding sand.
At Maya Construction 1 Inc, we focus on careful base work because small problems below the surface can lead to settling, movement, or water pooling later.
Lay And Cut Brick Pavers For Clean Alignment
Begin brick paver installation from a straight edge or fixed corner. Place each piece closely beside the next and tap it gently with a rubber mallet. Check alignment often so the pattern stays straight across the full area.
Some spaces will need cut pieces around borders or curves. Mark each cut carefully, then use the proper masonry tool and safety gear. You can view examples in our masonry project gallery for useful design inspiration.
Secure Joints And Finish Your New Paver Surface
After all brick pavers are in place, sweep joint sand across the surface and into every gap. Compact the area so the sand settles deeper, then add more where needed. This step supports the pattern and limits movement.
- Add edge restraints to hold the border.
- Clear extra sand before applying sealer.
- Use a suitable breathable sealer when needed.
Our team at Maya Construction 1 Inc can explain material and finishing choices when a project needs professional support. You can also review our brick masonry service information for related options.
Frequently Asked Questions
How Deep Should The Base Be?
Many projects need several inches of compacted base below the bedding sand. The exact depth depends on soil, drainage, and expected traffic.
Can Pavers Be Installed Over Existing Concrete?
Sometimes, but the concrete must be stable, properly drained, and suitable for the added height. A site check can prevent future problems.
How Do I Keep Pavers From Moving?
A compacted base, tight joints, joint sand, and secure edging all help keep the surface stable through regular use and changing weather.
When Should A Paver Surface Be Sealed?
Sealing is usually done after the surface is clean, dry, and fully settled. Always follow the sealer maker’s instructions for best results.
Can I Repair One Damaged Paver Later?
Yes. One benefit of pavers is that individual pieces can often be removed and replaced without rebuilding the entire surface.
Keep Your Brick Pavers Strong Through Regular Care
Regular care protects your finished surface. Sweep away leaves and dirt, rinse stains early, and check joints for lost sand. Also watch for settling, loose edges, or weeds so small issues do not become larger repairs. Good brick paver installation also depends on timely joint care and clean edges.
With Maya Construction 1 Inc, you can get guidance when your brick paver installation needs repair, updating, or professional attention. For help with your next outdoor project, reach our masonry team to discuss the space and your goals.